Trigger an Action When a Task Deadline Expires
Scenario
Use this example when a task must complete within a defined time and the process should react automatically when that time limit is exceeded.
What You Will Learn
- configure a duration and deadline action for a task
- observe how an active task becomes overdue
- verify the automatic action path after the deadline expires
Difficulty and Estimated Time
- Difficulty: Beginner
- Estimated time: 15 minutes
Assumed Knowledge
You should be familiar with tasks, actions, routes, and starting a test process instance.
Required Reading
Prerequisites
- permission to create folders and processes
- access to the process editor and form designer
- a test user who can run the created process
Steps
Create a Folder
- Open the folders area.
- Create a new application folder, for example
Expense Form.
Create a Process
- Create a new process inside the folder.
- Open the process in edit mode.
- Select the default pool to start modeling.
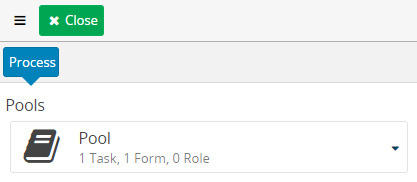
Create the Tasks
- Rename the opening task to
Expense Form. - Add the
Submitaction to the opening task. - Create the next task and rename it
Manager Approval. - Add
ApproveandRejectactions to the approval task. - Route the
Rejectaction back to the first task.
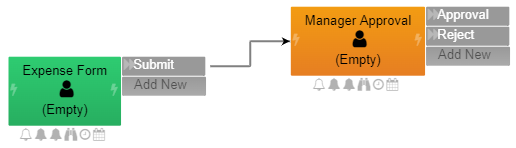
Add the Deadline
- Open the deadline menu by selecting the clock icon under
Manager Approval. - Set the deadline duration.
- Optionally enable the notification checkbox.
- Select the action that should run when the deadline expires.
The action list is populated from the task actions, so the deadline can advance the process automatically when the time limit is reached.
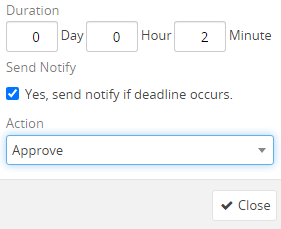
Create the Form
- Open the form under the same process.
- Add a row-content section.
- Add a text control inside the section.
- Save the form layout.
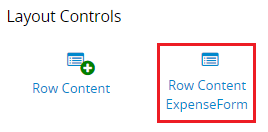
Save and Test the Process
- Close the designer tab.
- Commit the process changes.
- Start the process from the folder.
- Submit the first task so the approval task is created.
- Observe the task in the worklist before and after the deadline expires.
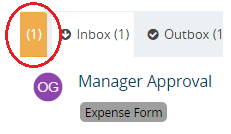
When the approval task is active, it appears in the orange queue because it has a deadline.
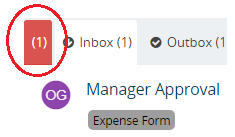
After the deadline passes, the task moves to the red queue and the deadline information is shown in the task detail.
Result
You now have a process task with an automatic deadline and an explicit action path for overdue work.
Verify the Result
Start the process, leave the timed task open, and confirm that the configured action is selected after the deadline. Also complete a second instance before its deadline and confirm that the normal route is used.
Security and Portability Notes
- Configure a short duration only in a test domain; use a realistic service target in production.
- Deadline execution uses the permissions and tenant context of the process instance. Do not use it to bypass task authorization.
- Do not embed user IDs or environment-specific values in the deadline script or route.